Connecting Your BitGo Wallet to Hyperliquid
First-Time Connection
Step 1: On Hyperliquid, select “Connect” in the top right.
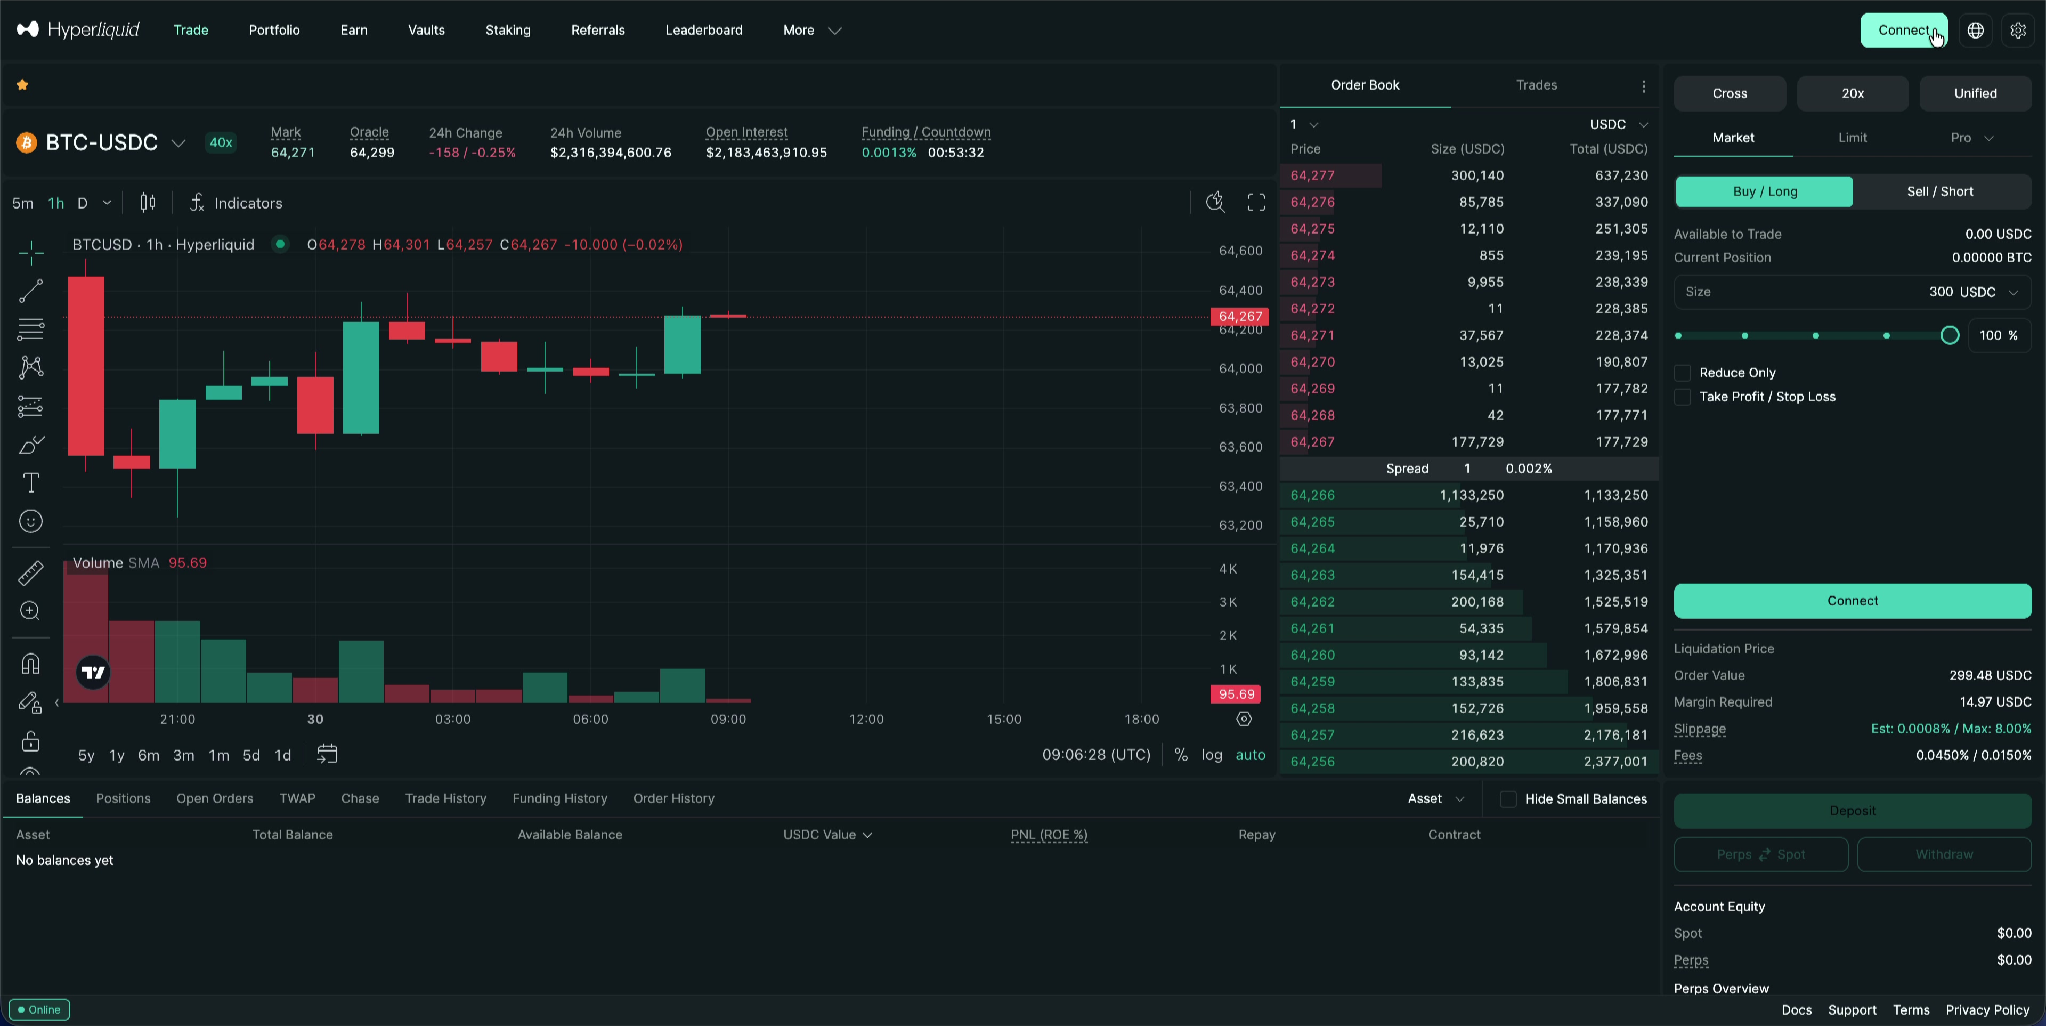
Starting the connection from Hyperliquid.
Step 2: Select “WalletConnect,” then select “Copy link” to copy the WalletConnect URI to your clipboard.
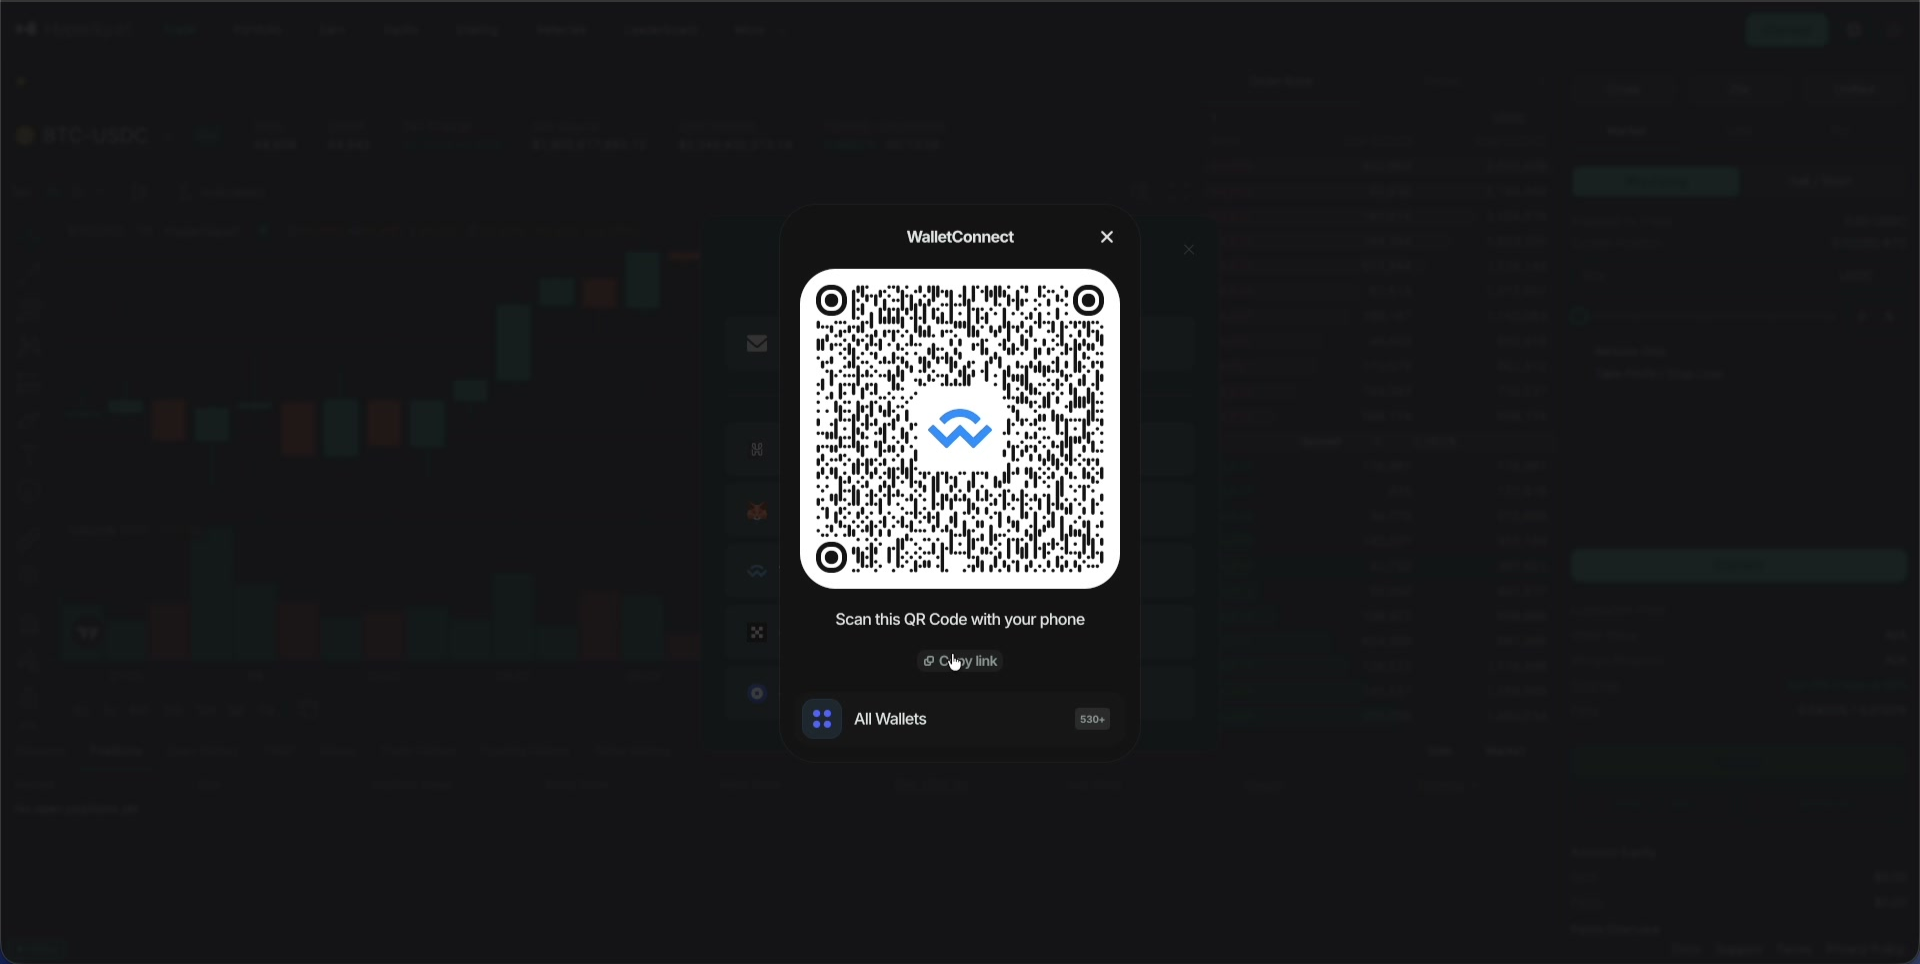
Hyperliquid’s WalletConnect pairing screen, with Copy link.
Step 3: On BitGo, from your self custody wallet, select “Connect dApp.”
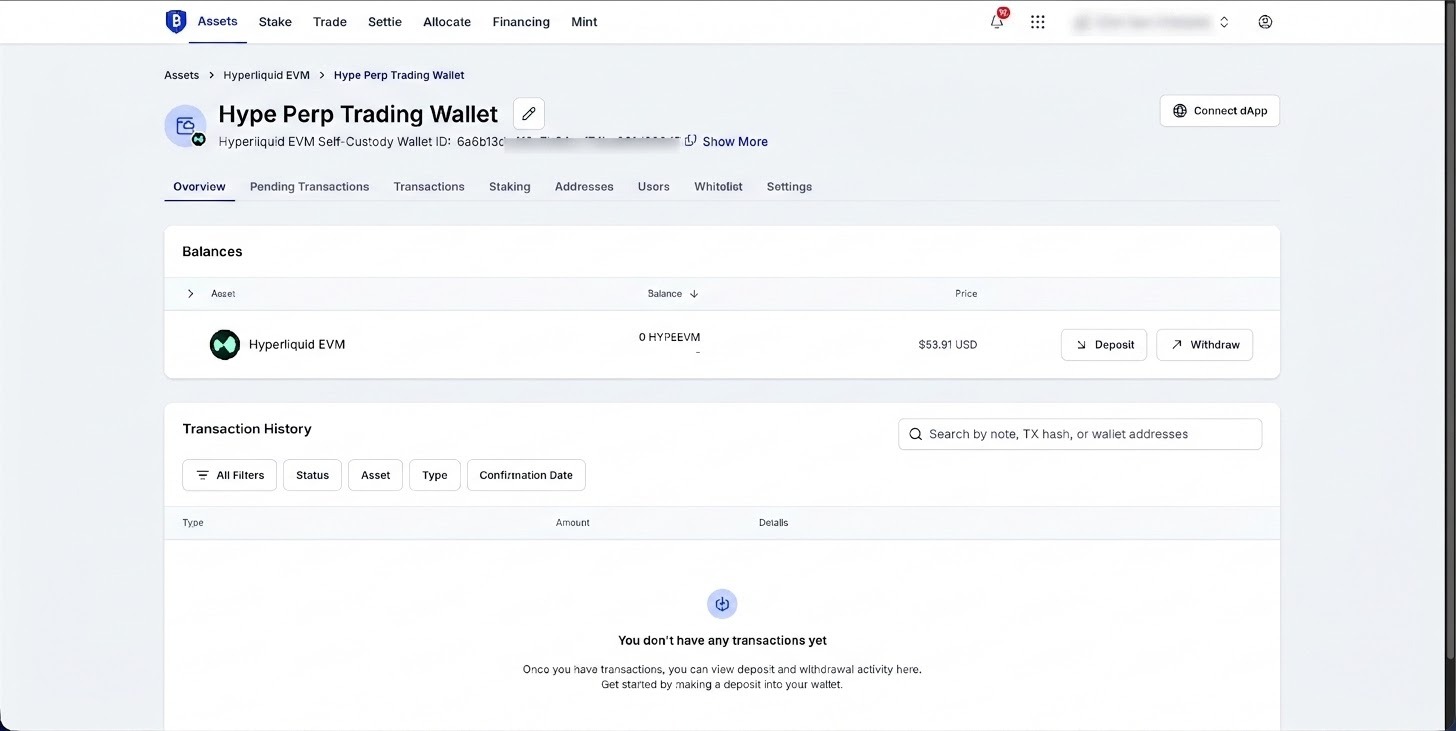
The BitGo wallet overview, with Connect dApp available in the top right.
Step 4: Paste the copied link into the “WalletConnect URI” field and select “Connect.”
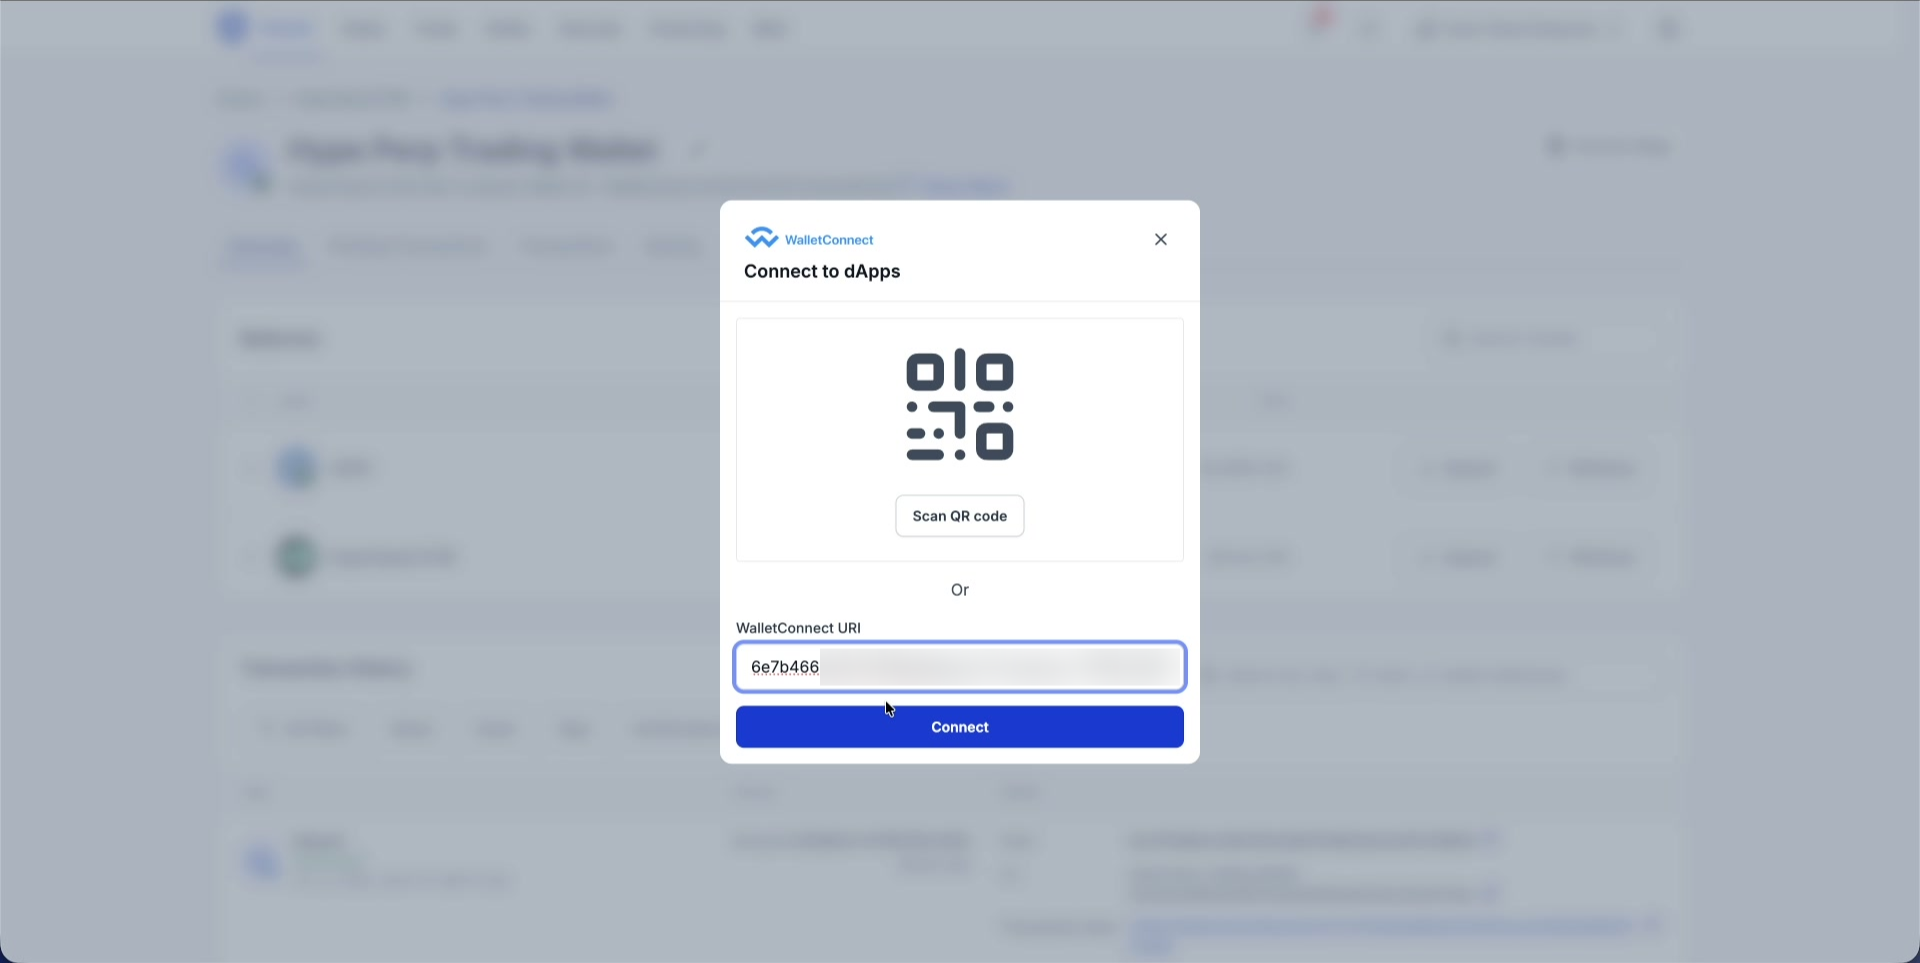
Pasting the WalletConnect URI into BitGo.
Step 5: BitGo shows a connection request. Review the permissions listed, which allow Hyperliquid to view your balances and activity and send approval requests, but never to move funds without your permission, then select “Approve.”
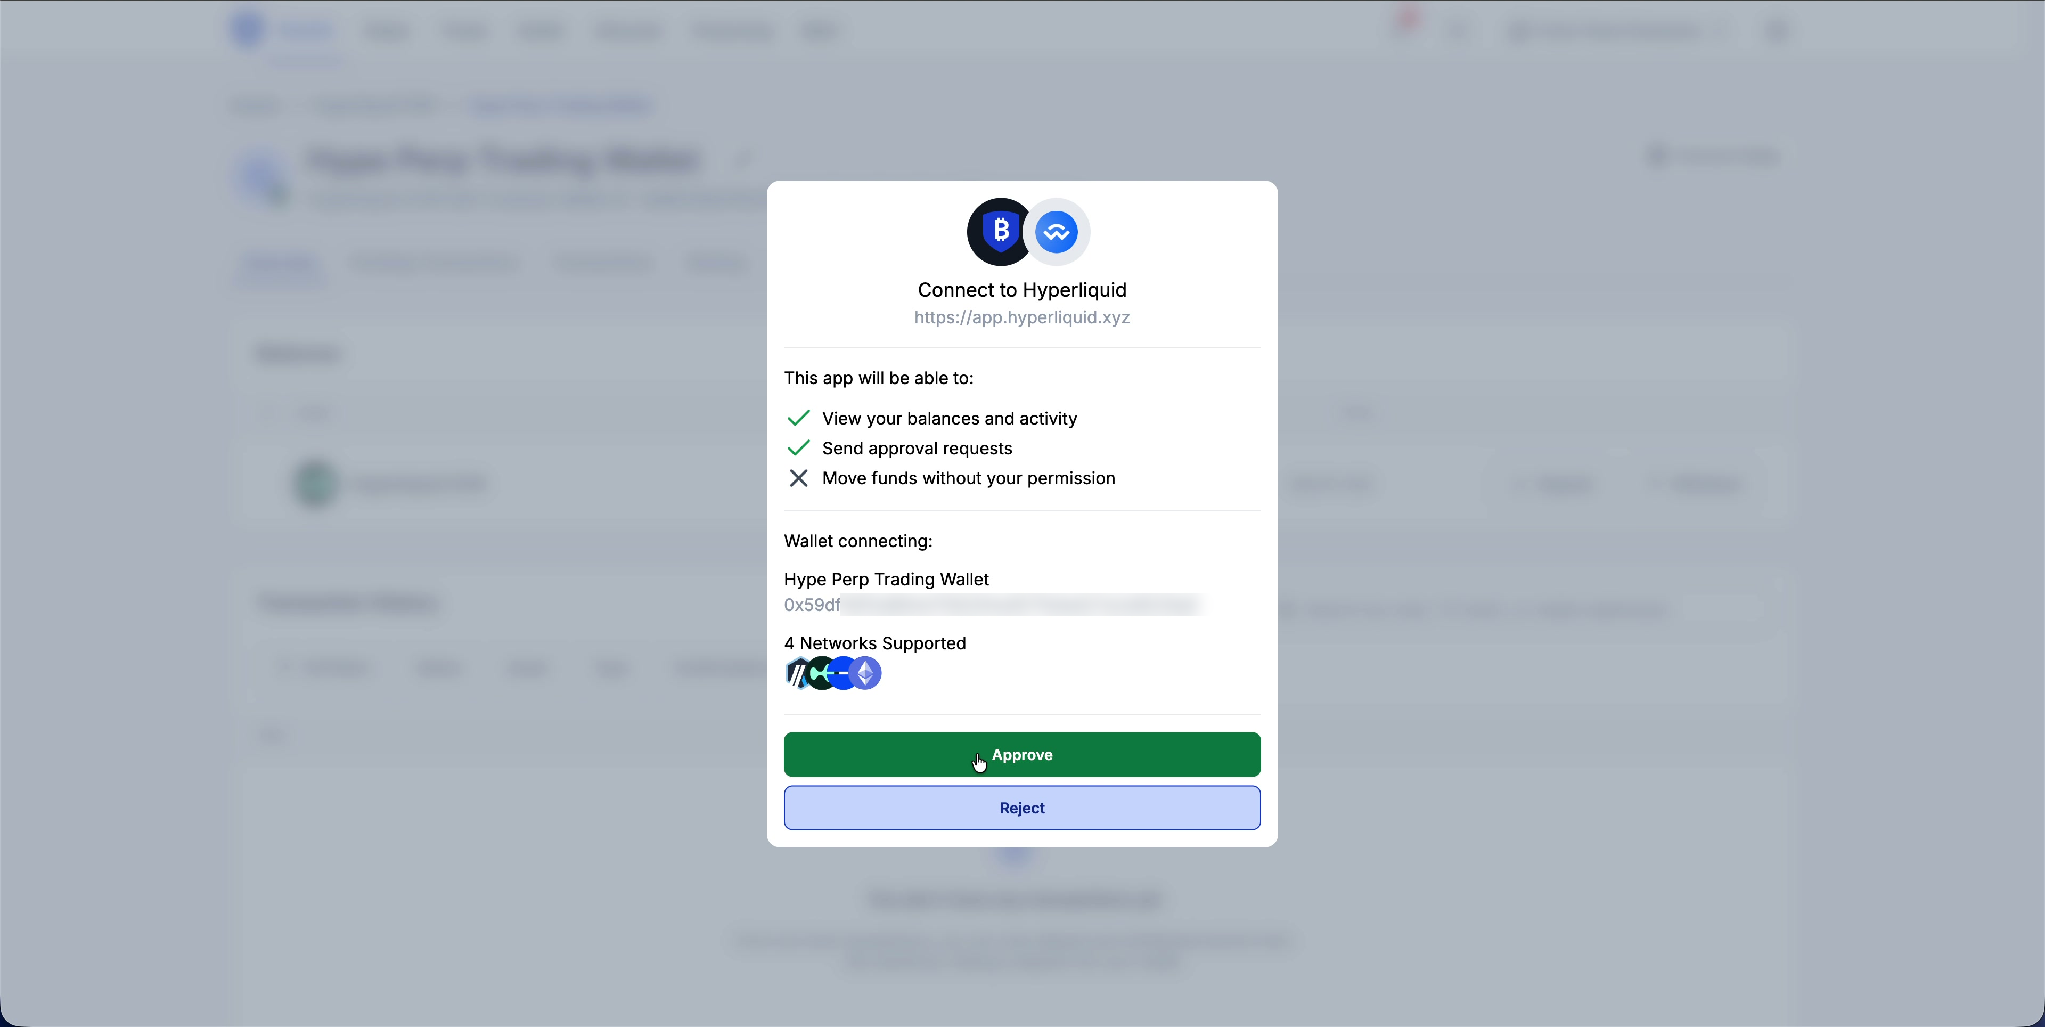
The BitGo approval modal for connecting to Hyperliquid.
Note: Approving a WalletConnect connection does not give Hyperliquid the ability to move funds on its own. Every transfer still requires a separate signature on BitGo, described in Section 2.
Step 6: Sign to accept Hyperliquid’s Terms of Use. BitGo prompts you with a signing request. Enter your wallet password, or authenticate with your passkey, and select “Sign.”

Signing to accept Hyperliquid’s Terms of Use.
Step 7: Sign to enable gas-free trading. BitGo prompts you with a second signing request, using the same modal as the previous step. This signature opens a channel that lets Hyperliquid execute your trades without asking you to sign, and pay gas, for every order.
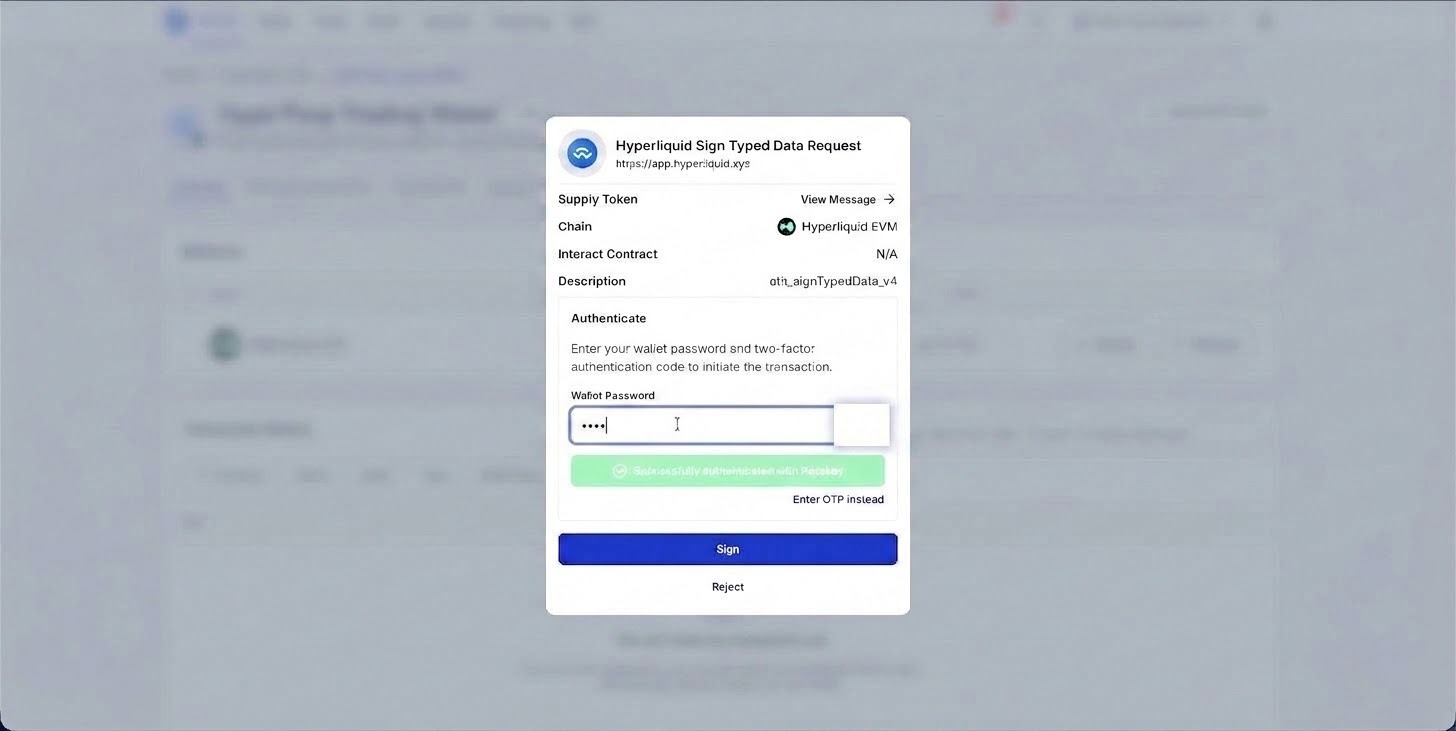
Signing to enable gas-free, instantaneous trading on Hyperliquid.
Note: This signature is what unlocks gas-free, instantaneous trading. After this step, you do not need to sign again to place, modify, or close trades. You only sign again to move funds to or from Hyperliquid.
Step 8: Once both signatures are complete, BitGo confirms the connection.
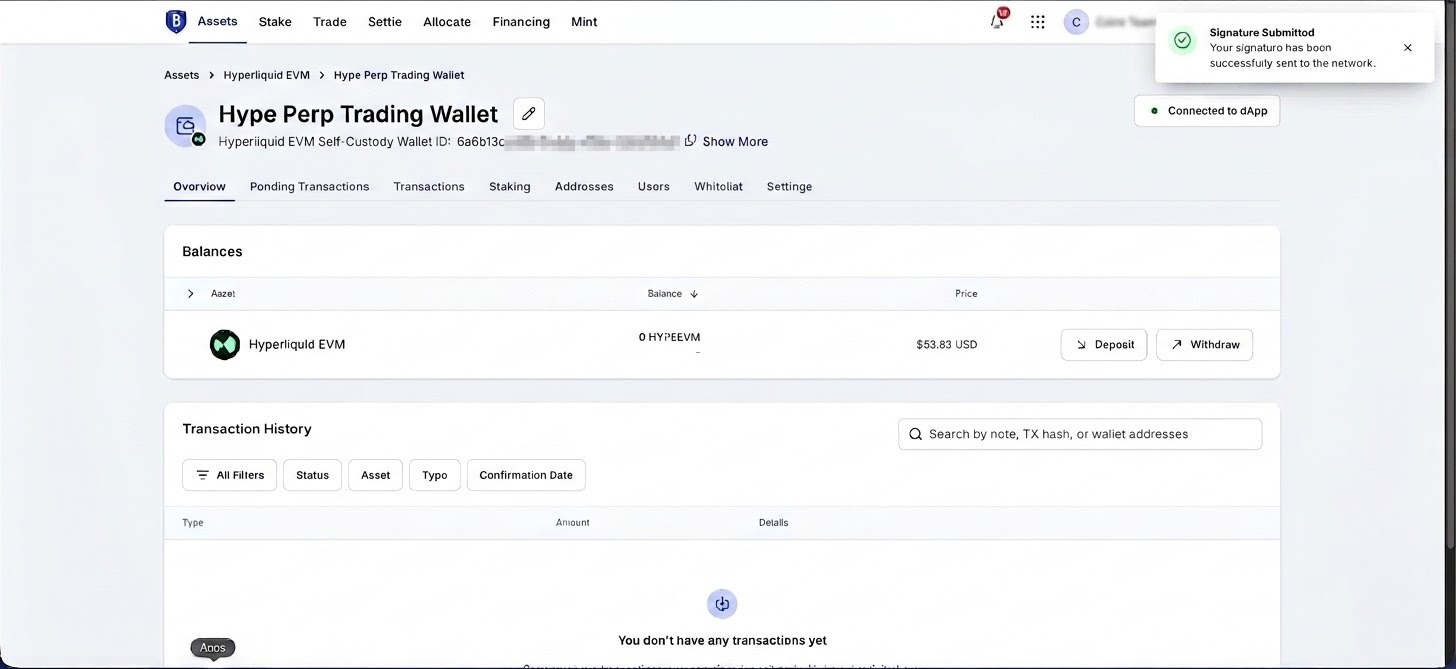
BitGo confirms the wallet is connected to Hyperliquid.
Reconnecting (Existing Users)
If you have connected to Hyperliquid before, reconnecting follows the same Steps 1 through 5 above: Connect on Hyperliquid, select WalletConnect and copy the link, then Connect dApp on BitGo, paste the link, and Approve. You will not be asked to accept the Terms of Use or enable gas-free trading again.
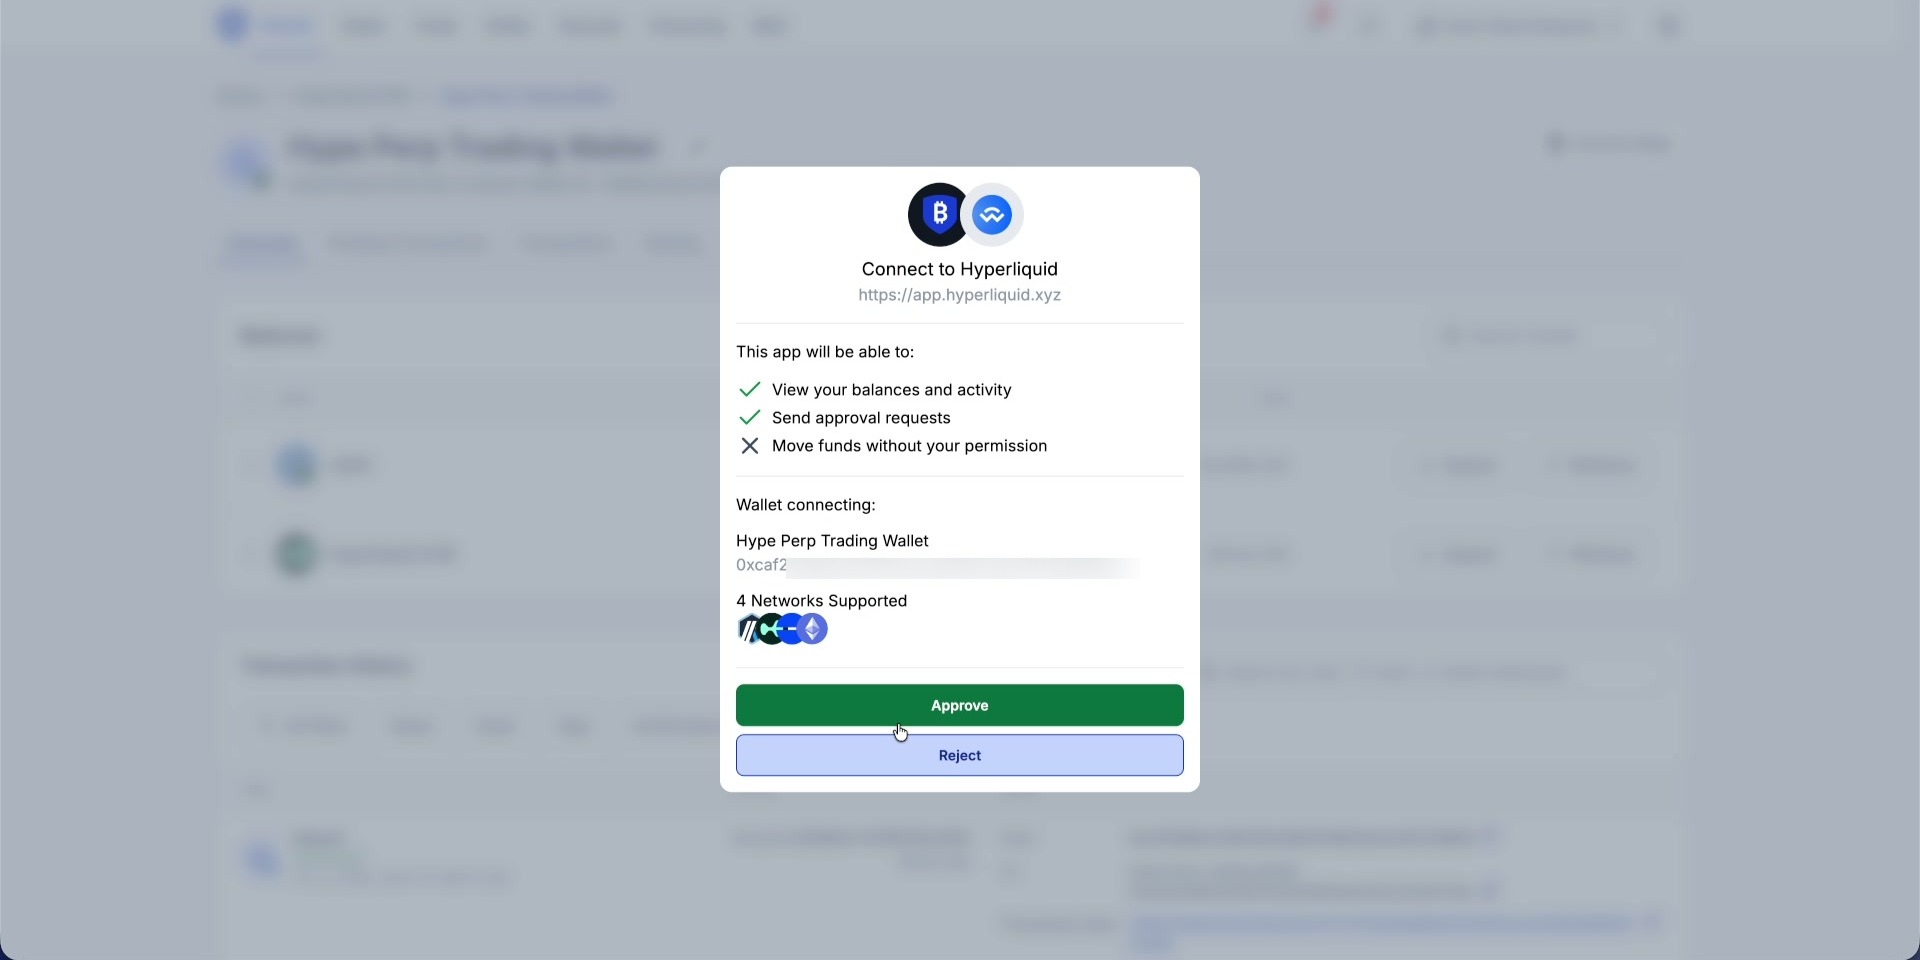
Approving the reconnection request on BitGo.
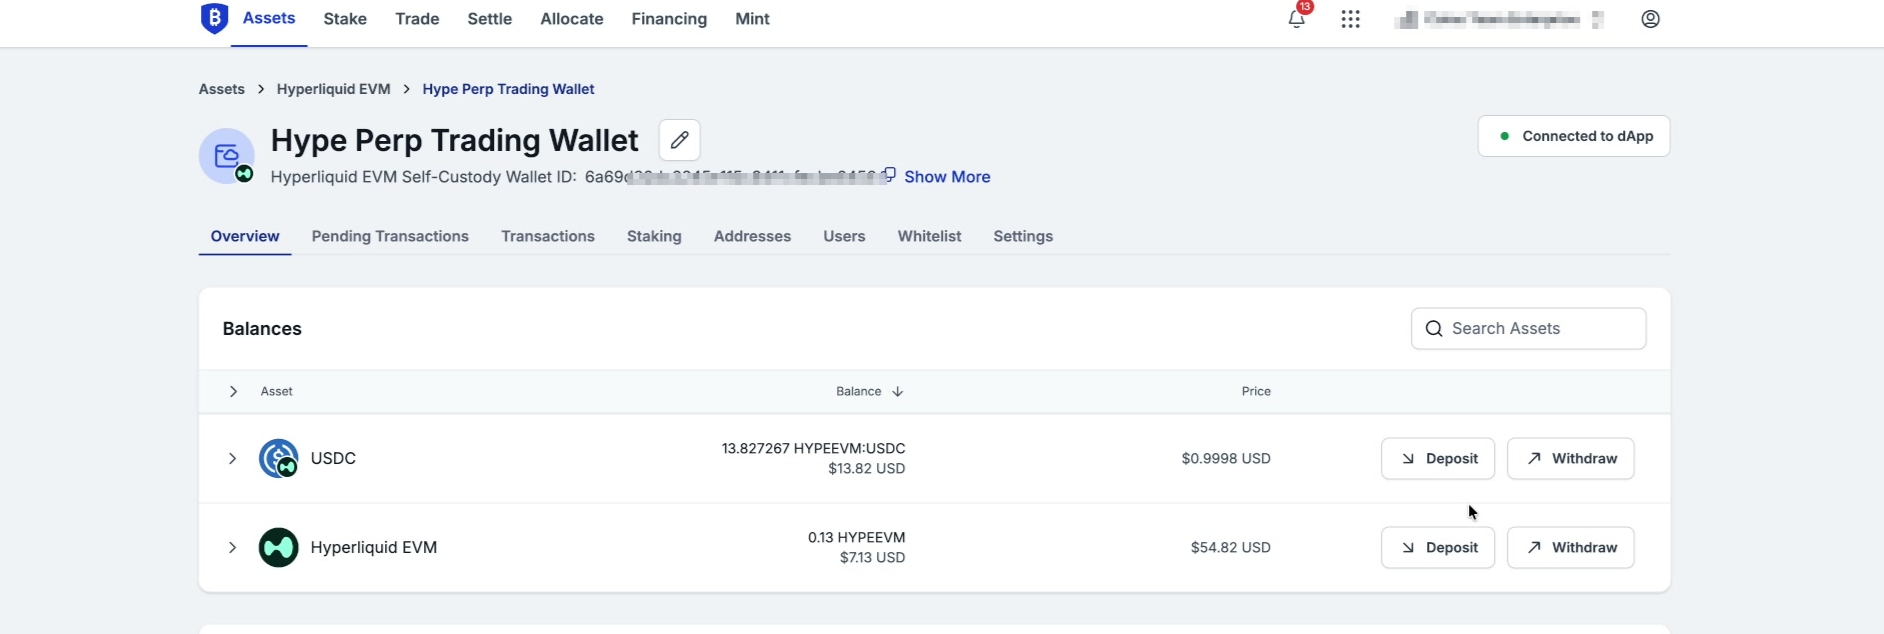
BitGo confirms the wallet is connected to Hyperliquid.
Proceed to Section 2: Transferring Funds from BitGo to Hyperliquid
Was this article helpful?
That’s Great!
Thank you for your feedback
Sorry! We couldn't be helpful
Thank you for your feedback
Feedback sent
We appreciate your effort and will try to fix the article