Transferring Funds from BitGo to Hyperliquid
Step 1: On Hyperliquid, start a deposit. Hyperliquid shows a Sign Transactions prompt for the two signatures it needs: one approving USDC for the deposit, and one depositing USDC to the Hyperliquid app, and BitGo surfaces each request for you to sign.
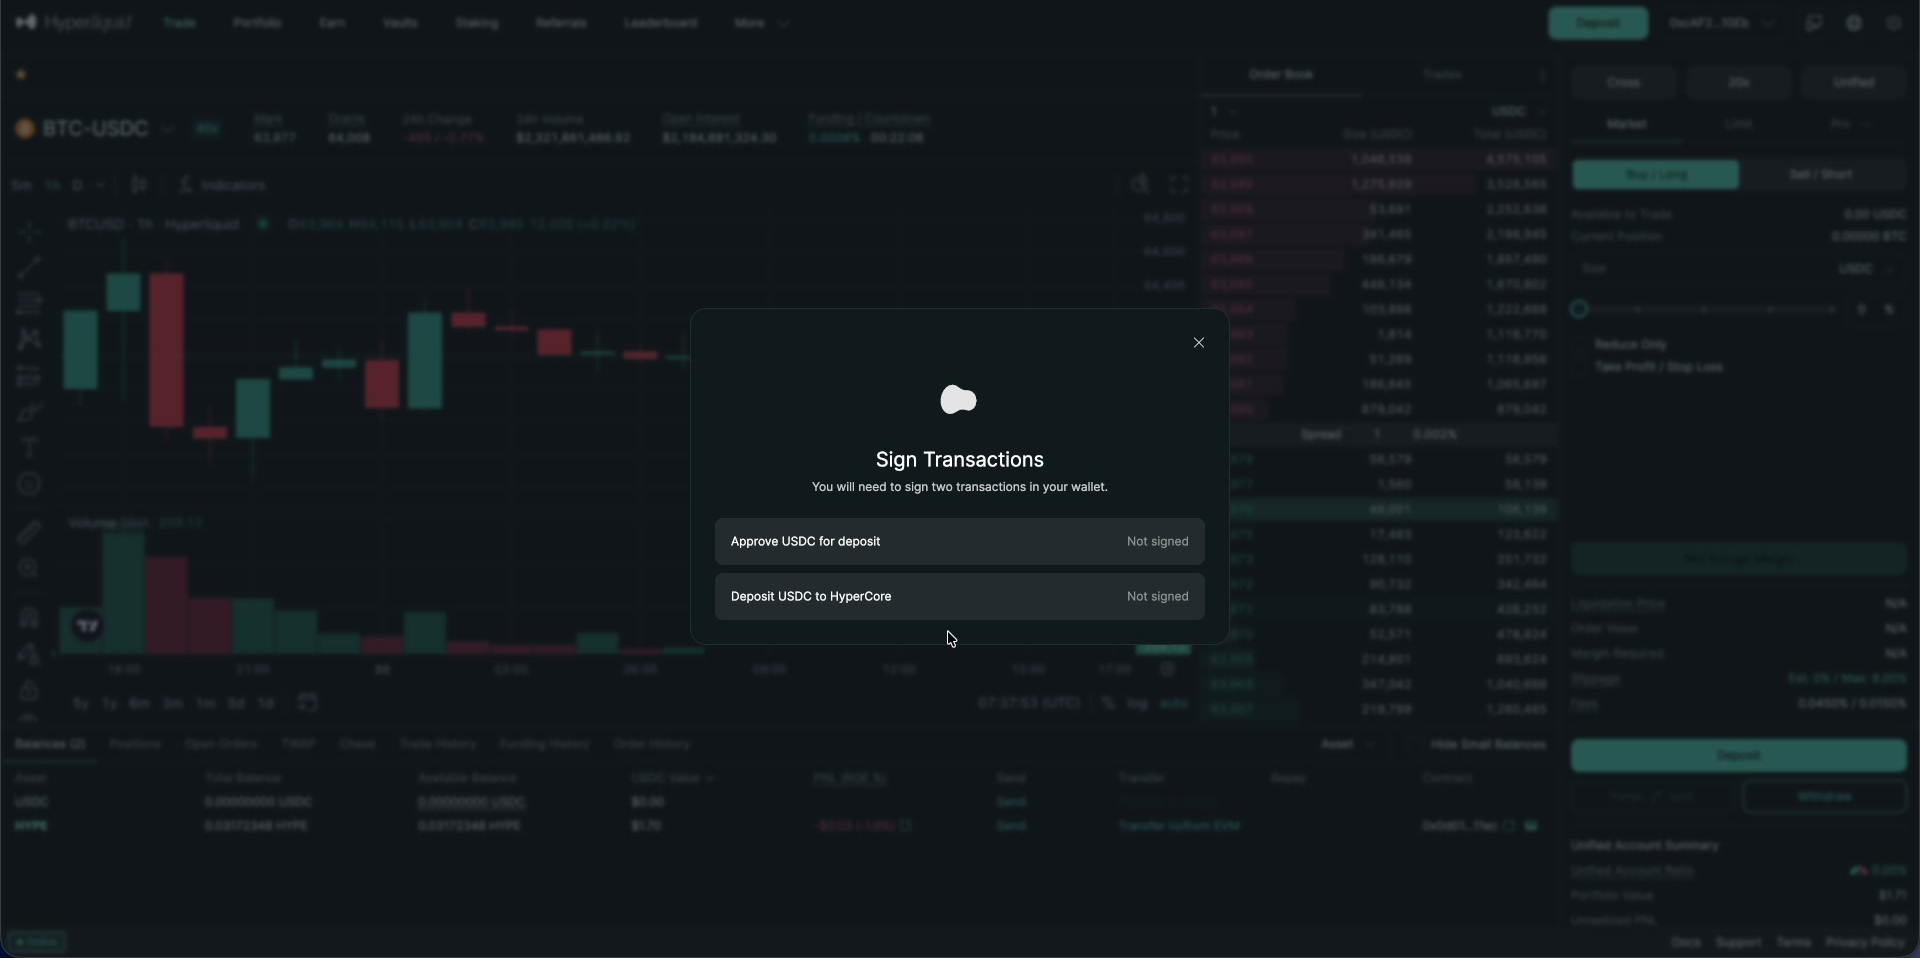
Hyperliquid’s two-transaction deposit prompt.
Step 2: Sign the first transaction on BitGo.
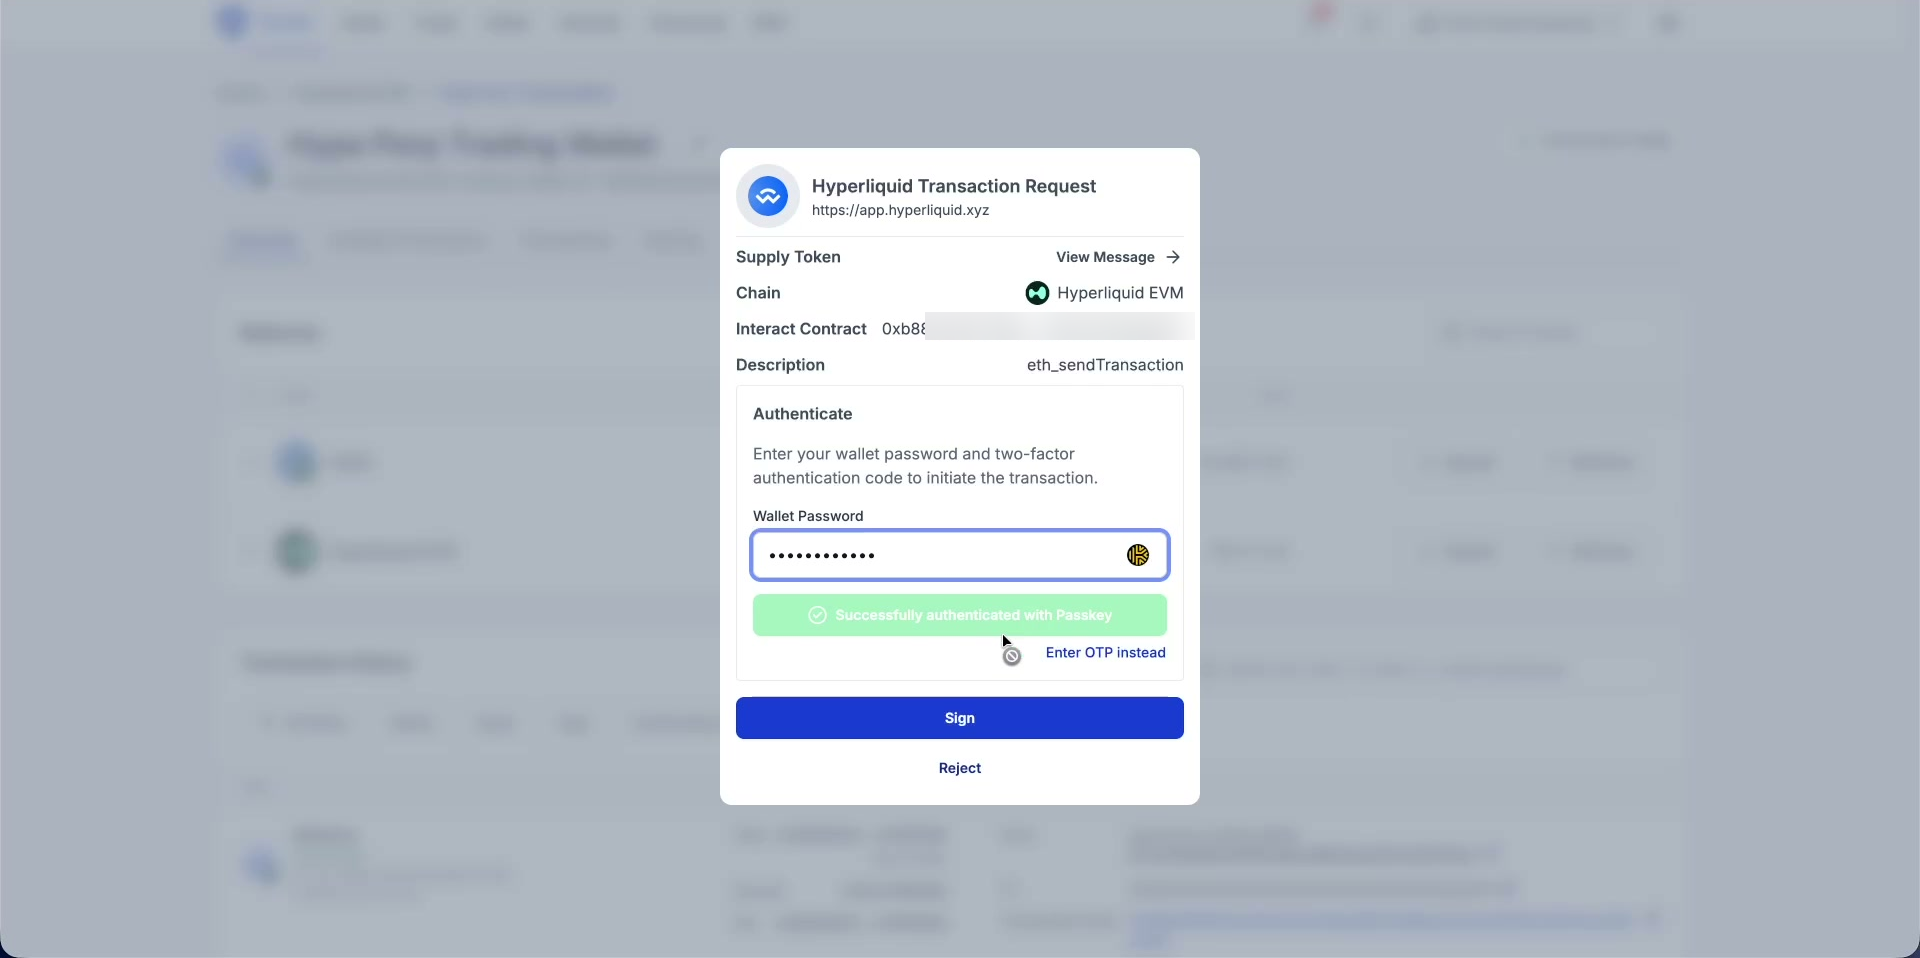
Signing the first deposit transaction on BitGo.
Step 3: Sign the second transaction on BitGo.
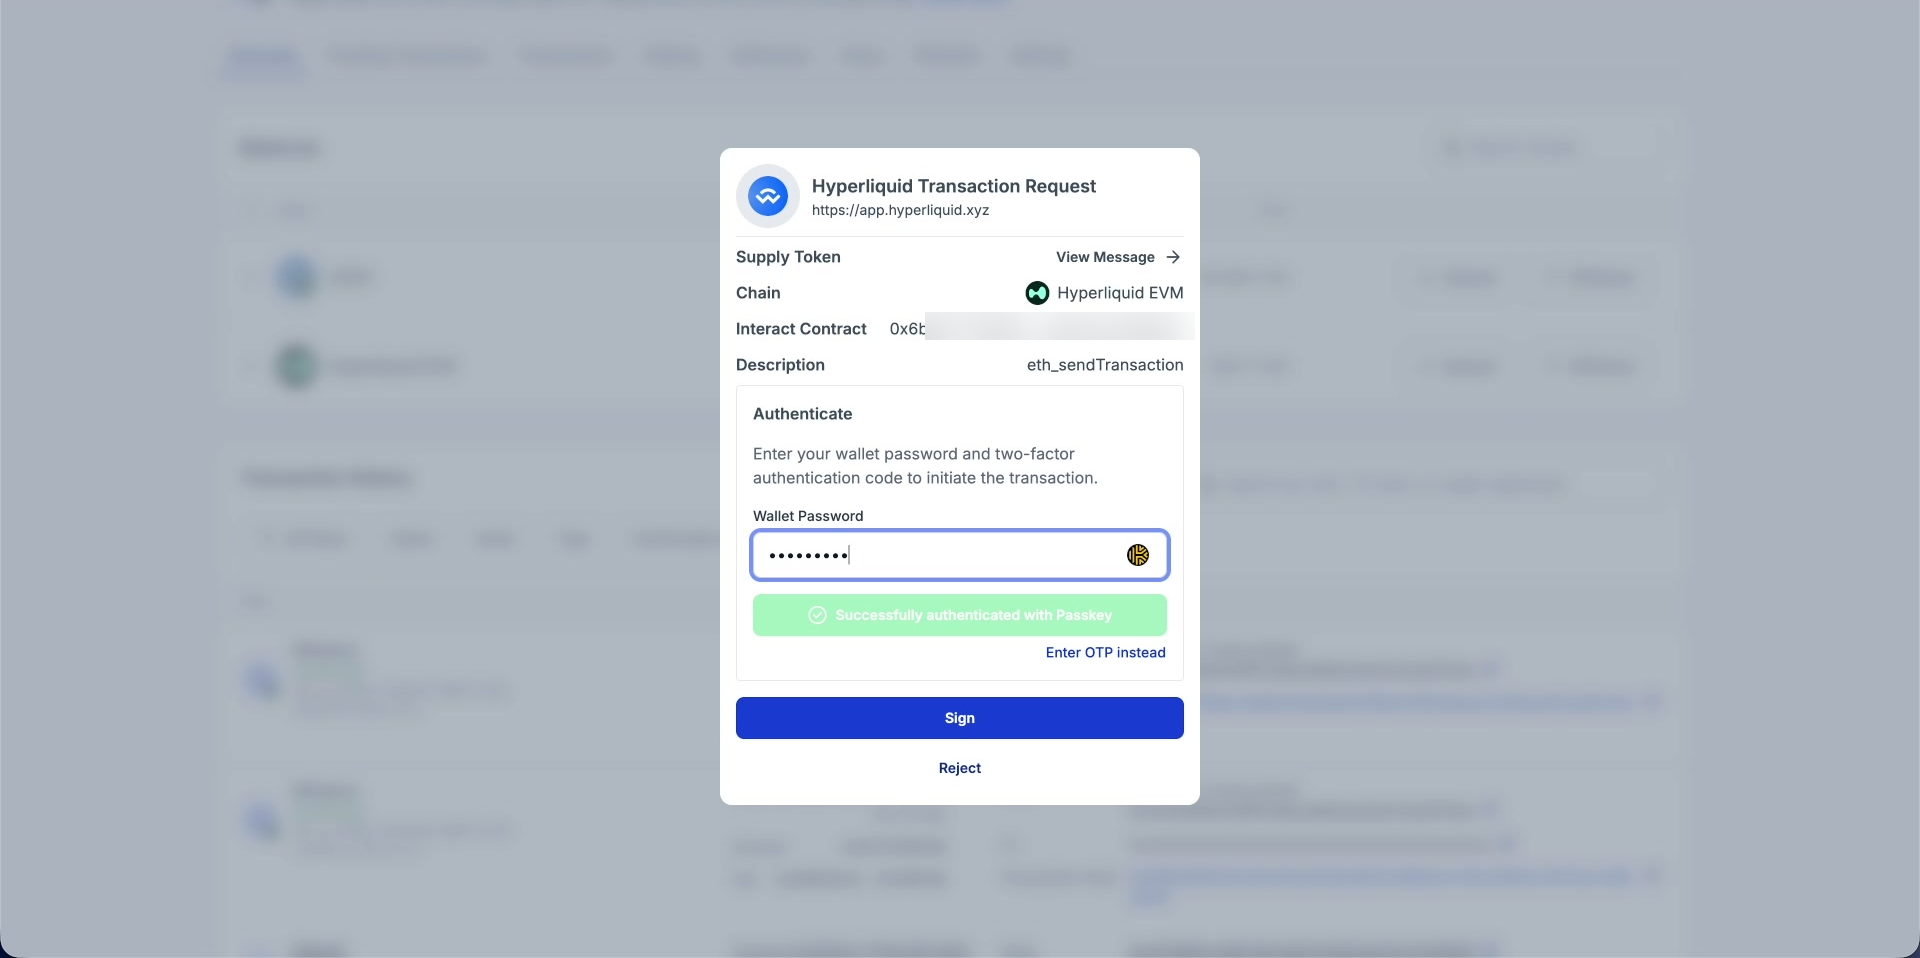
Signing the second deposit transaction on BitGo.
Note: You may configure your wallet with an approval policy so that certain transactions require approval from another authorized user before they execute. If your wallet has one, both deposit transactions wait for that approval. This is expected behavior, not an error, and it adds time beyond your own signature.
Step 4: While the transfer waits on a second approval, BitGo shows the request as “Pending Approval,” along with a Security Timeline and the list of who can sign.
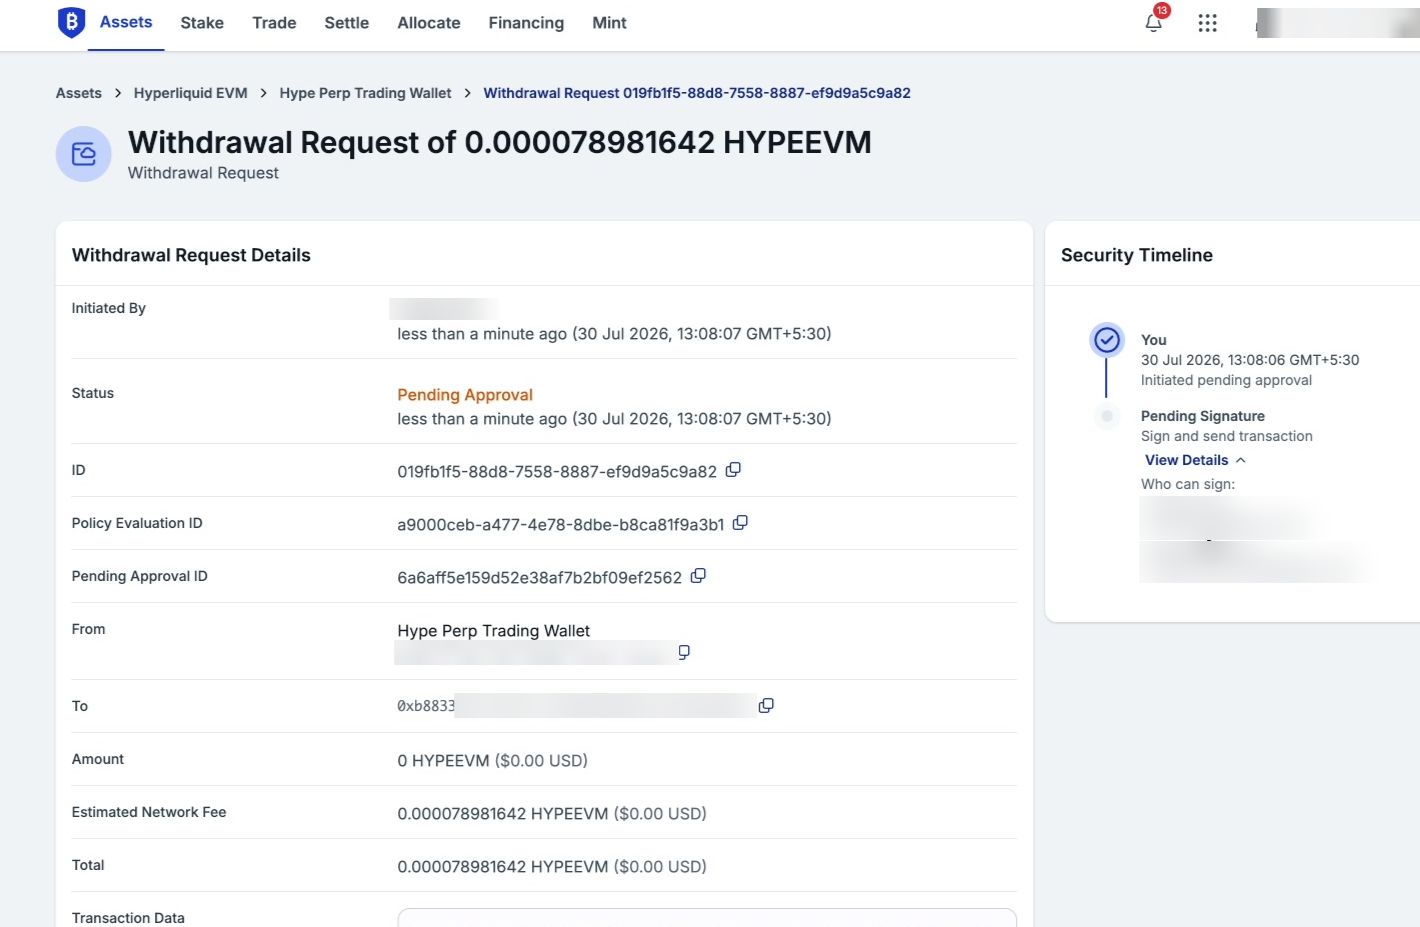
A transfer request pending approval from another authorized user.
Step 5: Once another authorized user approves both transactions, BitGo updates the request to “Delivered.”
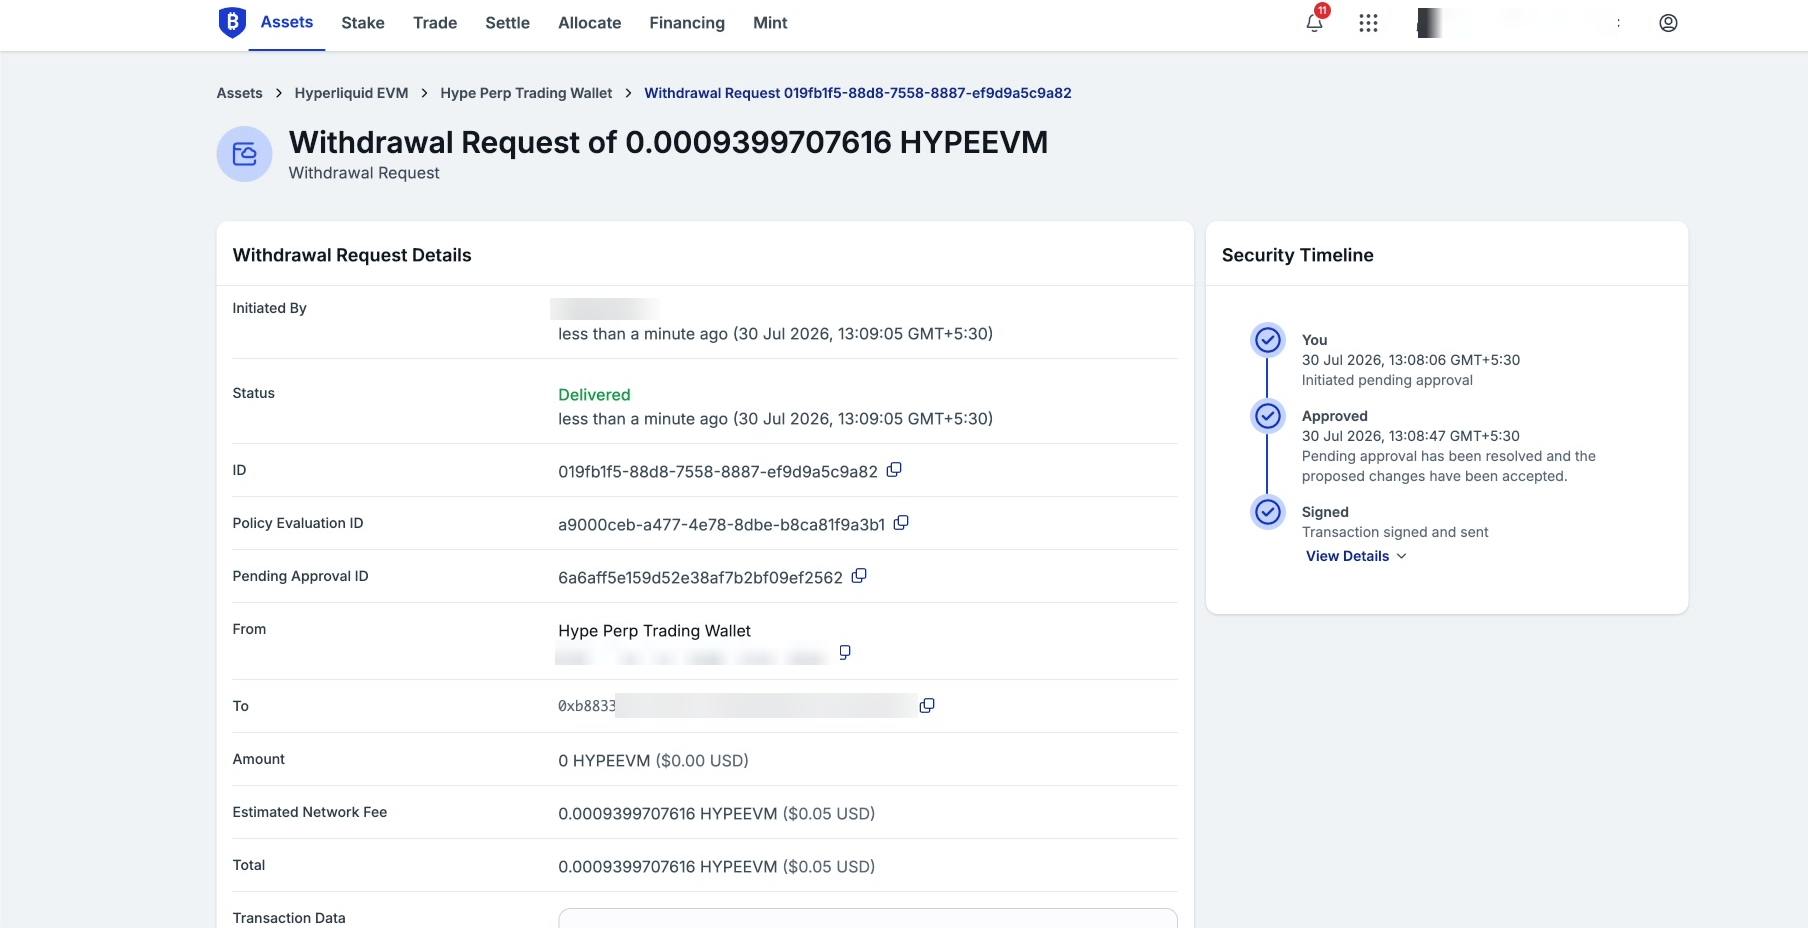
The transfer request after another authorized user approves it.
Step 6: Funds now appear in your Hyperliquid balance, ready to trade.
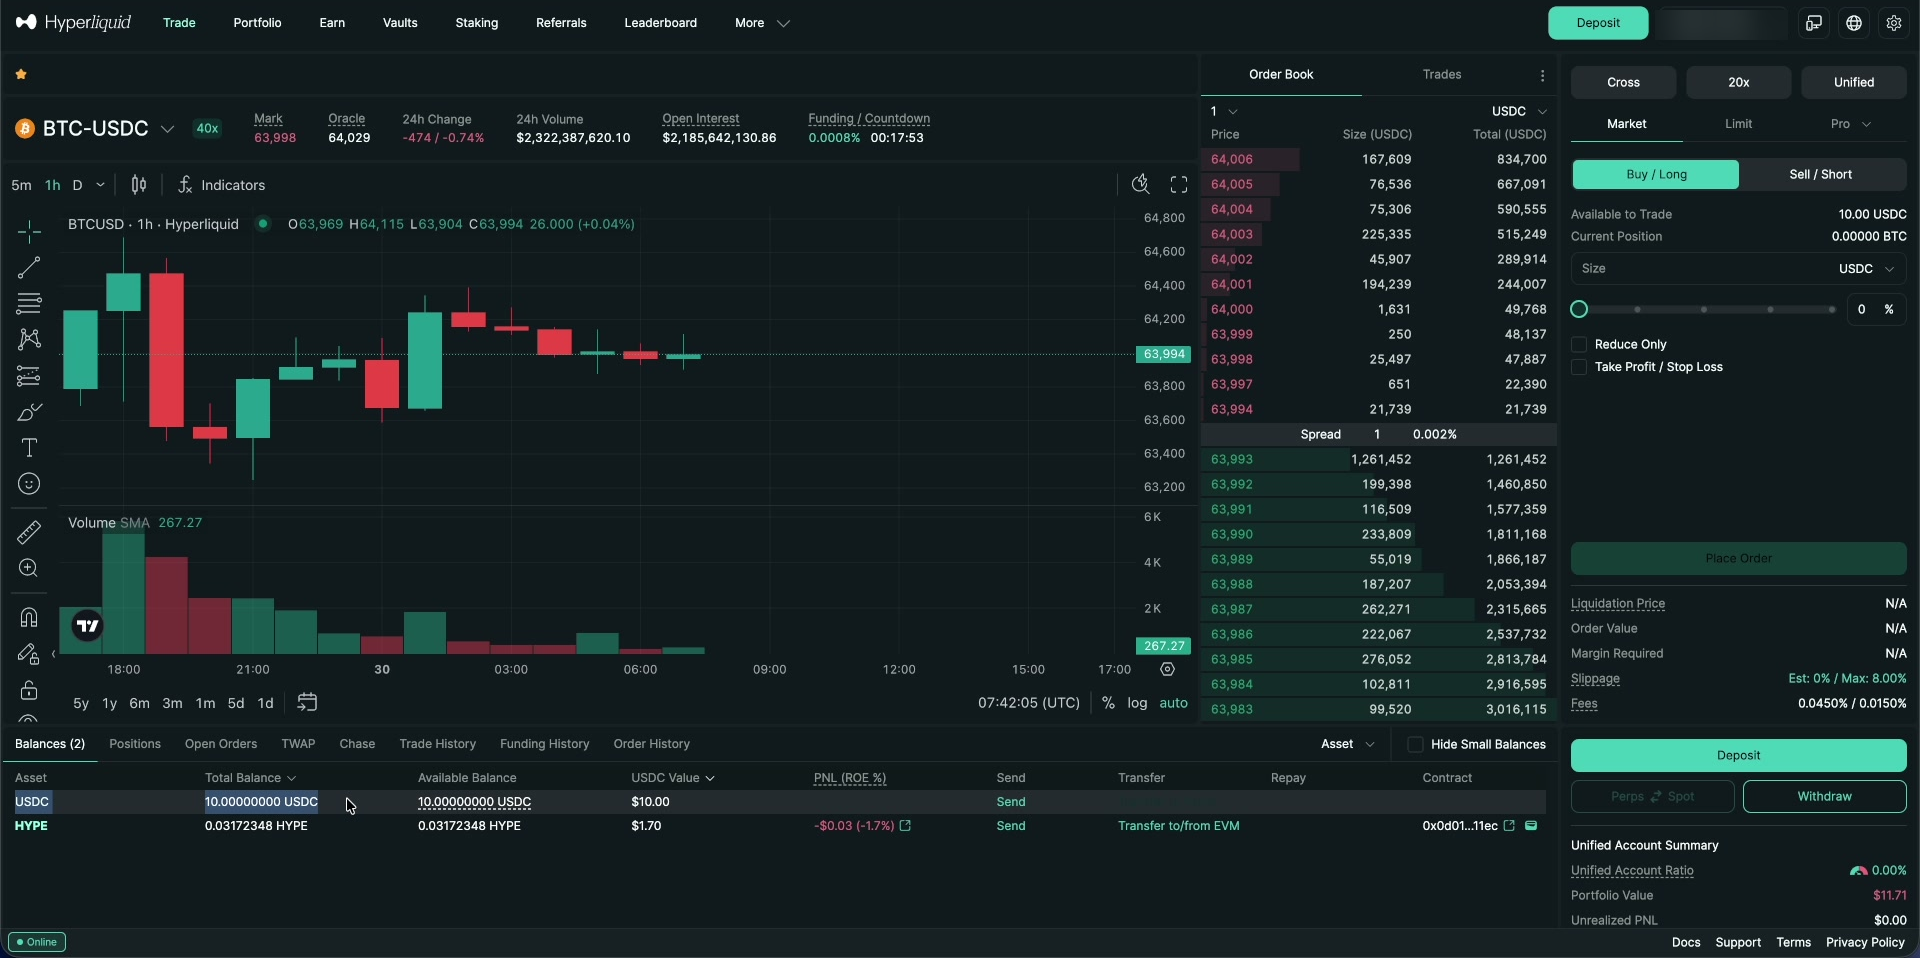
Funds available on Hyperliquid after the transfer completes.
Proceed to Section 3: Trading on Hyperliquid
Was this article helpful?
That’s Great!
Thank you for your feedback
Sorry! We couldn't be helpful
Thank you for your feedback
Feedback sent
We appreciate your effort and will try to fix the article